
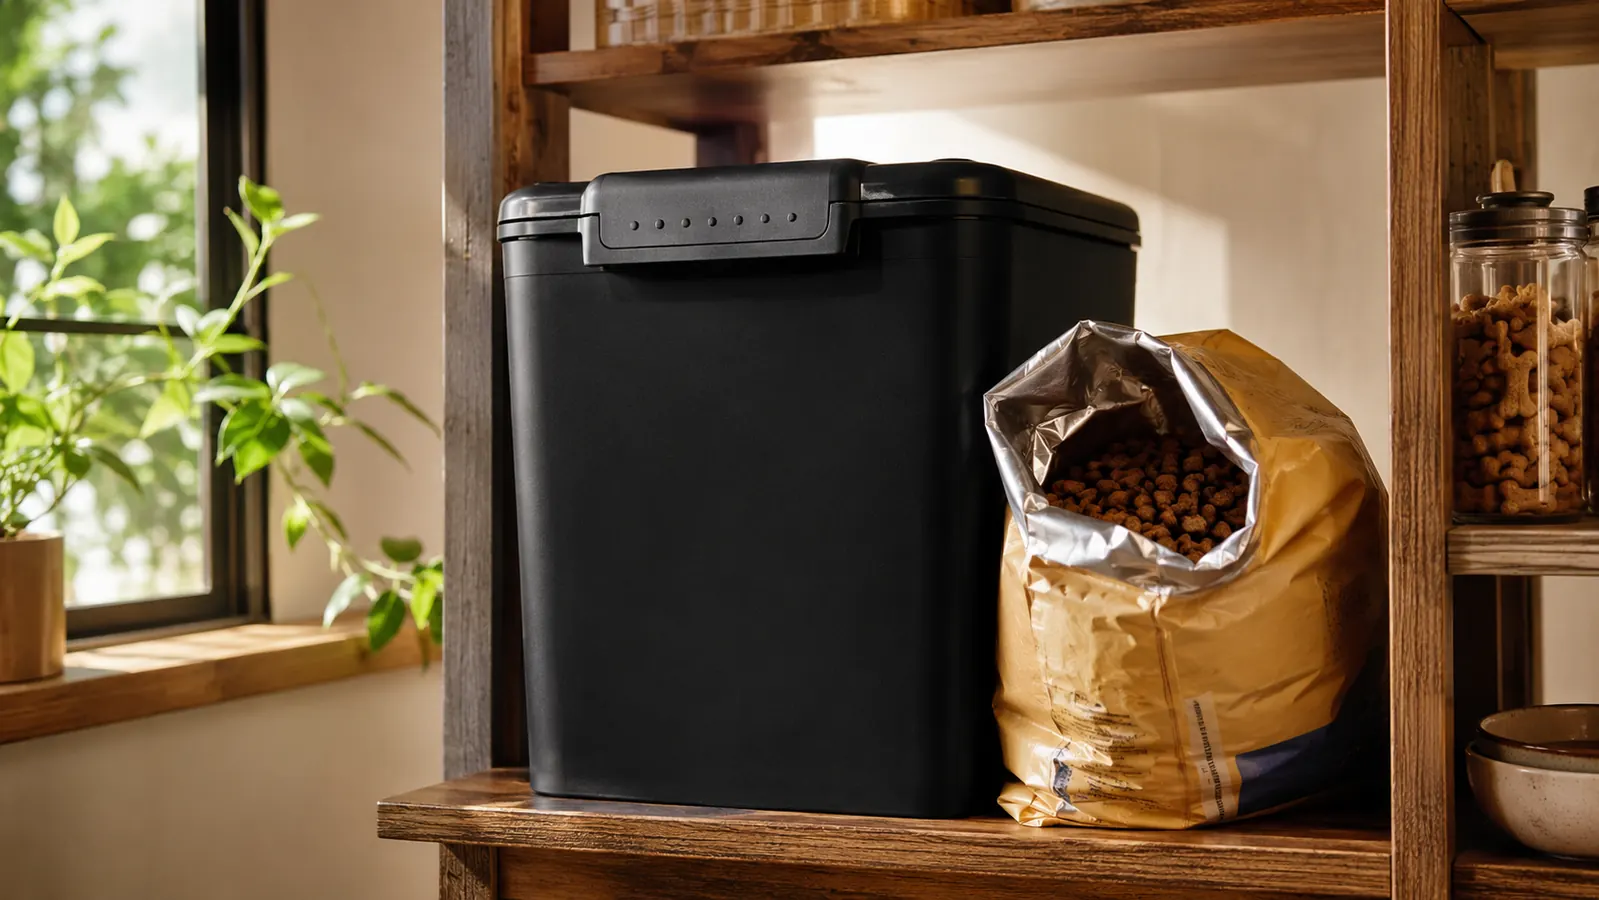
I have kept dogs for thirty years, and for most of those years I did the lazy thing: I kept the kibble in the bag it came in, clipped the top with a binder clip, and let the bag sit open on the kitchen floor behind the bin. It worked fine for the first week, then the last third of every bag went soft in the middle of a humid summer, the smell of oil went slightly off, and once, in 2021, a pantry moth made a home in the folds of the paper. That was the year I bought my first real airtight container, the IRIS USA 38 pound bin in black, and I have not gone back to the bag since.
Here is the honest version of the setup: it is not complicated, and it is not expensive. It is a container with a real gasket, a clean scoop, and a habit of wiping the seal out every couple of months. That is the whole system. What follows is the exact routine I use, step by step, for anyone who is tired of stale kibble or is wondering whether an airtight bin is worth the shelf space. It is.
The airtight bin I settled on after 30 years of bag clips
The IRIS USA 38 pound container with its wide, real rubber gasket is the one that finally stopped my dog food from going stale and my pantry from growing moths. It holds a whole large bag, it is made in the USA, and it has done four summers of humid air without complaint.
Amazon Check Today's Price on Amazon →Step 1: Choose a container that fits a full bag
Before you do anything, buy the right size. The single most common mistake is buying a bin that is too small, which forces you to keep half the kibble in the flimsy bag. That defeats the whole point. Measure the bag you usually buy, then get a container with room to spare so you can pour the whole thing in and still close the lid flat.
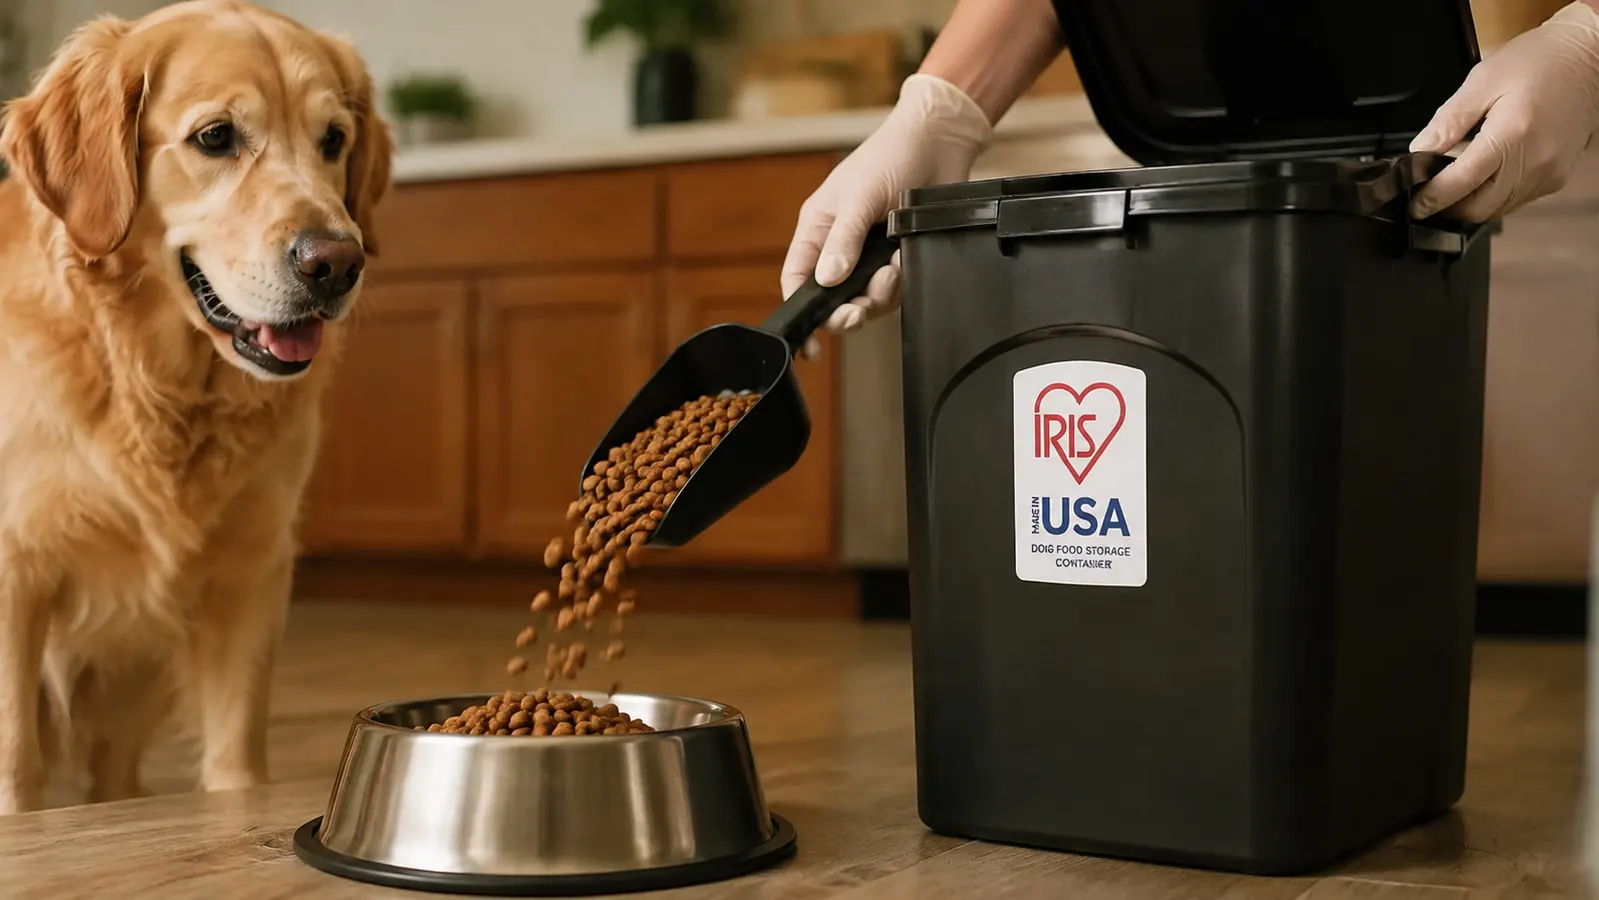
I feed a 62 pound Lab mix and a smaller greyhound mix, and together they eat a 30 to 40 pound bag every couple of weeks. The IRIS USA 38 pound container is sized for exactly that. It swallows a full bag with room to spare, the lid sits flush, and it still fits on a standard pantry shelf without being a hazard in the dark. If you have one small dog on a 15 pound bag, a smaller bin is fine, just buy one that fits the whole bag. Partial bags in torn paper are how food goes stale.
Also check the seal before you commit. A real airtight container has a thick rubber gasket all the way around the inside of the lid, not just a thin strip that presses flat. The IRIS bin has a wide, soft gasket that seats properly, and you can feel the slight resistance when you push the lid down. If the lid closes with a snap but no resistance, the air is still getting in, and you just bought a fancy box.
Step 2: Wash and fully dry it before the first fill
I know this sounds like nagging, but a brand new container from the factory smells faintly of plastic, and if you rinse it and pour kibble straight in, the moisture from a quick rinse can make the first batch go off early. Give it a real wash with warm soapy water, rinse it well, and let it dry completely overnight before you put any food in it.
Do not put a wet container away with food. Water and heat are the two things that ruin dry kibble fastest. Kibble has oil sprayed on it at the factory, and oil goes rancid sooner when it sits in warm, moist air. A fully dry bin stops that from happening. This one step, drying it completely, is the difference between a bin that keeps food fresh for weeks and a bin that makes everything taste faintly of plastic the first time out.
Step 3: Move the kibble over with the bag's best information saved
Here is a trick I wish I had known sooner: do not throw the bag away. Staple the bag's barcode and the lot number to a piece of cardboard, or just cut the panel that shows the breed size, the feeding chart, and the analysis and tape it to the side of the container. If there is ever a recall, you need that lot number to check whether your bag is affected. A bin full of anonymous kibble is a bin you cannot verify.
Pour the whole bag in, tap the container a few times to settle the kibble, and close the lid flat. Some people leave the inner mylar liner in the bin and dish food out of it, which works too, but I find the liner gets in the way of a clean scoop. Straight into the clean bin is simpler, and the airtight lid does the work the bag liner used to do.
Use a scoop that lives in the bin with the food, and only use that clean scoop. I keep a hard plastic scoop clipped to the inside edge of the bin so I am never reaching into the food with a wet or dirty hand, which is a quiet way that bacteria and moisture get introduced over time.
Step 4: Put it in the right spot, off the floor and out of the sun
Where you park the container matters just as much as the container itself. Keep it in a cool, dry place out of direct sunlight. A garage that bakes in the summer, or a spot right next to the oven, will heat the plastic and speed up rancidity no matter how good the gasket is. A pantry shelf or a cabinet in a cooler part of the kitchen is ideal.
Keep it off the floor if you can. On a shelf, the bin stays cleaner and there is less chance of tiny pests crawling in around the outside of the seal. If it has to sit on the floor, check the bottom lip now and then and keep the area swept, because that is exactly the spot pantry pests like to enter from. Also keep the container closed in between scoops, not propped half open, no matter how quick the next feeding is.
Step 5: Keep a two minute monthly cleaning routine
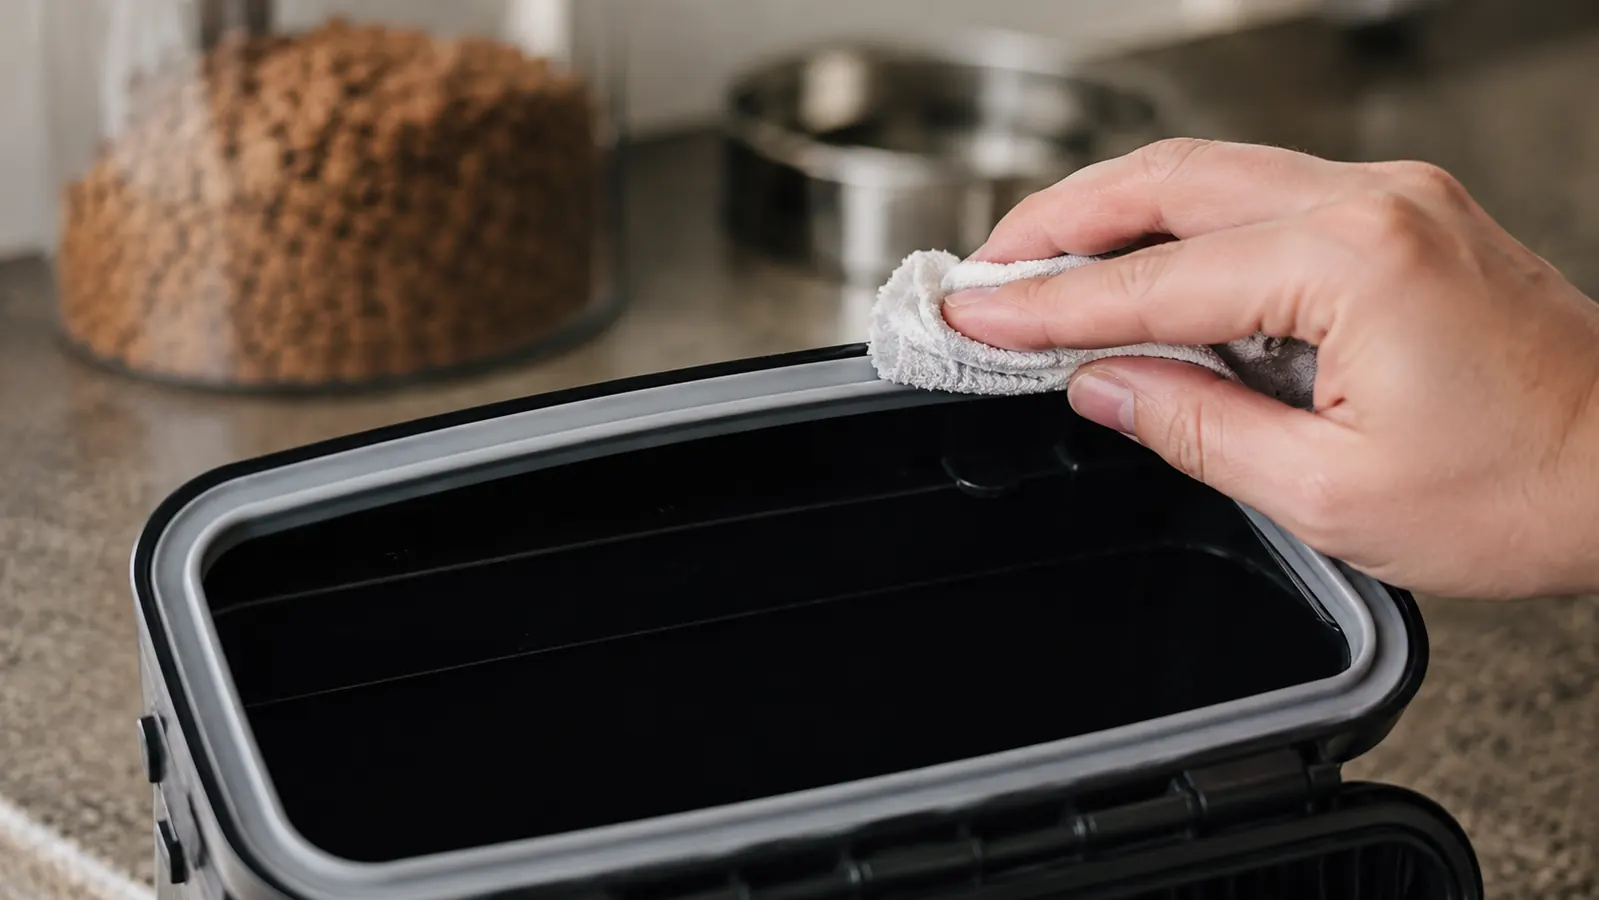
The maintenance is the part everyone skips, and it is easy enough that nobody should. On the first of every month, or whenever you finish a bag and refill, do this: dump out whatever is left, set it aside on a plate, wash the bin and the gasket with warm soapy water, dry it completely, and pour the food back in. That one rinse keeps the oil from building up on the gasket, which is where stale crust and eventually insects collect.
Pay special attention to the gasket itself, not just the inside of the bin. Wipe the rubber seal every time you finish a bag, because oil and dust work their way into that lip and a dirty gasket is a weak gasket. In four years with this bin I have cleaned the gasket with a damp cloth on the regular monthly pass and it has never gone stiff or lost its grip.
If you live somewhere humid, like I do in the Carolinas through August, do the monthly clean a little more often than strictly necessary. Humid air is the real enemy of dry kibble, and a clean, dry, sealed bin is the cheapest insurance against a bag that tastes like cardboard by week three.
The quickest check is your own nose. Fresh kibble smells like roasted food, warm and a little oily. The moment that smell turns faintly rancid, like old cooking oil, or the kibble starts to feel soft and slightly damp instead of crisp, that bag is on its way out. I have caught two bags going off this way, one in the bin and one that sat too long in the store, and both times the dogs noticed before I did by leaving a few pieces in the bowl. Trust the smell test and you will never serve a stale meal.
What Else Helps
The container does the heavy lifting, but a couple of extra habits make the system bulletproof. Buy kibble in the size you actually use so you are not storing an oversized bag, and buy from a place that moves product fast so the bag you take home is fresh to begin with. Freshness starts in the store, not in your pantry.
Do not add extras to the bin. I have seen advice to toss in a bay leaf or a moisture packet, and with a properly sealed container you do not need either one. A clean, dry, sealed bin is enough. Adding loose things to dry kibble is more often a way to introduce something you do not want than a way to improve anything.
Keep the bin away from the food bowls and the water station. Dogs are curious and a 38 pound bin with a door latch is not something you want knocked over. Ours sits on a middle pantry shelf, out of nose reach, and the cats never bother it either. If you want a deeper look at how this IRIS container compares to the other popular airtight bins, read our breakdown of the IRIS USA versus the Gamma2 Vittles Vault. And if you are not sure why this matters in the first place, our list of ten reasons airtight storage keeps kibble fresh is a good place to start.
One more thing worth saying: the container is not magic. A cheap bin with a thin seal and a good bin with a real gasket can look identical from the outside, so the difference only shows up months later in how your dogs react at the bowl. With dry, fresh kibble they eat the same amount at every meal. When food goes stale they start leaving it. After we switched to the airtight bin, the pickier of my two dogs, the greyhound mix, stopped leaving a ring of uneaten kibble in his bowl. That was the quiet proof the system was working.
Also keep the refill predictable. I buy the same rotation of two foods and I alternate the bin between them, rinsing in between, so the taste of last month's food never bleeds into this month's. It keeps the dogs happy at the bowl and it keeps the bin from holding onto a stale fat residue. That is the whole thing, and it is enough.
A dirty gasket is a weak gasket. Wipe the seal every time you finish a bag and that bin will keep holding air for years.
The setup that cost me one past-the-moth summer
If you are still rescuing kibble from a binder-clipped bag, the whole upgrade is one airtight bin and a two minute monthly wipe. The IRIS USA 38 pound container has done this for me for four summers without complaint, and it is the one piece of pet gear I would buy again tomorrow without thinking twice.
Amazon Check Today's Price on Amazon →